 Looking for the perfect colour? Order samples
 How to buy a kitchen? Read our guide
 Explore free standing wardrobes
 But free standing wardrobe
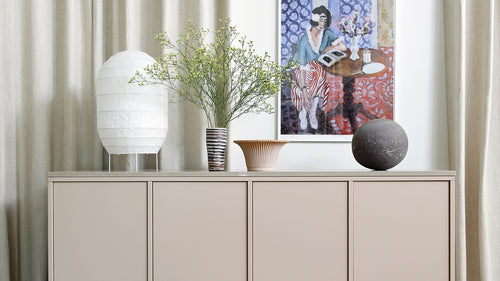 Get inspired – explore sideboards
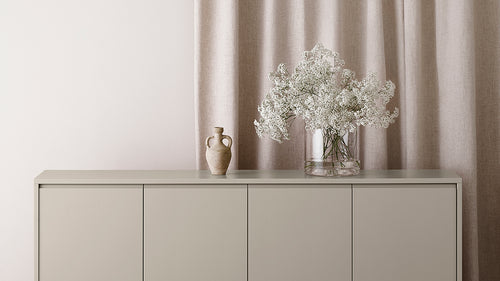 Buy sideboard
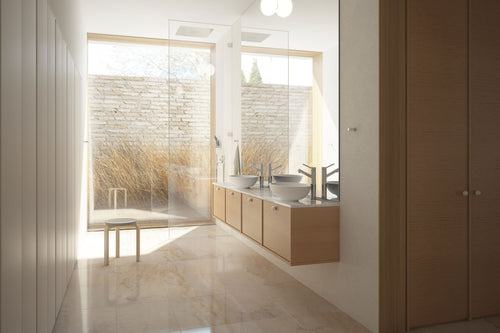 Buy bathroom vanity
 Colour sampling without painting: Adhesive swatches
 Your life in colour - read our painting guide
Mastering Wall Painting at Home - Insights from Professionals

As the owner of her painting company, Master Painter Paula Rautiainen collaborates with us in the advancement of Milieu paints. Her proficiency in painting stems from her work of revitalizing private residences, restoring staircases in historically significant structures, and crafting imaginative public spaces. Our conversation with Paula Rautiainen delved into painting tips aimed at guaranteeing success for individuals at any skill level.
Paula, how should one prepare for a painting project?
Reserve enough time for the project so that painting is enjoyable and not rushed. It might not be a good idea to start any projects on a Friday evening when tired after a long workday. A professional can finish painting a room in a day, but for a first-timer, it's advisable to set aside two days. Painting should also be done in good light, preferably during the daytime.

What tools are needed for painting the walls at home?
A functional set of painting tools makes the job easier. You'll need two different-sized rollers, an extension pole, a paint tray, a brush, and masking tape. It's a good idea to get separate rollers and brushes for different shades, so you don't have to wait for washed tools to dry. Definitely invest in an extension pole for the roller. Be careful with the extension pole when painting walls so that you don't accidentally hit the ceiling with the roller.
Here are three good reasons to use an extension pole:
- Achieves a smoother paint finish.
- Reduces hand fatigue during paint application.
- Enables painting the entire wall without using a ladder.
How should walls be prepared for painting?
It's a good idea to wash the walls the day before painting, using a mild dishwashing solution. Walls, especially in urban areas, accumulate dust and soot, and greasy soot requires a grease-dissolving cleaner.
After washing and drying, walls are smoothed by filling in nail holes or other irregularities with putty. After the putty dries, these spots need to be painted over with wall paint before the actual painting. Without an intermediate layer of paint, the puttied area may show through the painted wall, as putty is much more porous than paint. If you're changing the color of the wall and painting two coats anyway, a third coat for puttied areas is not necessary.
Tip: Paint puttied areas before painting the entire wall.
Why is protection important?
Careful protection ensures a neat final result. Protection is one of the crucial steps in a painting project and often takes up half of the day. It's advisable to allocate more time for protection than for painting.
Before painting, lists, light switches, and outlets are carefully covered with tape. The floor is also properly protected with masking paper or cardboard.
How is the paint applied to the wall?
There are three stages to when painting:
- Taping
- Application
- Leveling
Begin by taping the edges of the walls and ceiling with masking tape. Then use a brush to go over the taped edges.
After the brushwork, apply the paint evenly to the wall with a roller equipped with an extension pole. First, roll the roller in the paint tray and then onto the wall.
The most common mistake for beginners is using too little paint on the roller, resulting in a streaky finish. The right amount of paint on the roller means you won't need to press it. Let the roller do the work on the wall. If there's too much paint, it will start dripping.
For right-handed individuals, it's good to start from the left edge and move to the right. Left-handed individuals work in the opposite direction. This way, you leave a wet paint surface behind you. Apply the paint to the wall in a zigzag pattern, starting from the edge. Avoid starting from the middle of the wall, as some advertisements suggest.
Progress consistently, about a meter at a time. A roller moving in different directions spreads the paint evenly to every part of the wall. If you find yourself needing to press the roller firmly, there's too little paint on it.
Tip: Apply paint to the wall in a zigzag pattern.
How can a smooth final result be achieved?
As a professional, I paint the entire wall at once, but beginners should apply paint about a meter at a time and level the paintwork by rolling from top to bottom. At this point, there's no need to add more paint, and the roller doesn't need to be pressed. The roller does the job itself.
Be consistent in this stage too; don't level in both directions, only from top to bottom. Some painting guides suggest leveling from bottom to top, but I think it's a heavier and more challenging method. When leveling from top to bottom, the roller naturally comes down with its own weight.
The three most common mistakes leading to a streaky finish:
- Too little paint on the roller.
- Leveling strokes are made in different directions.
- Attempting to improve a painted wall after leveling.
How many coats of paint are needed?
If you're painting the same shade over old paint, one coat may be sufficient. If you're changing the shade, the wall needs two coats. Yellow and some darker shades may require up to three coats.
Once you've painted the entire wall, remove the tape immediately after finishing painting. This prevents the paint from drying onto the tape and tearing the painted surface. You don't need to remove the tape if you're painting over two days.
Tip: Remove tape immediately after painting to avoid damaging the painted surface.
What if the result isn't perfect?
Don't attempt to level the paint before it has dried, even if the wall looks streaky. If the result is uneven, you don't need to make new tape borders, but repaint the entire color area with the roller. It doesn't matter if you can't reach tight spots with the roller again; the border won't be noticeable.
Practice makes perfect, and soon painting walls will become a natural expression of your own style.
